
Please follow below steps to configure mail baby on MailEnable server
Step 1 : Start menu -> Mail enable.
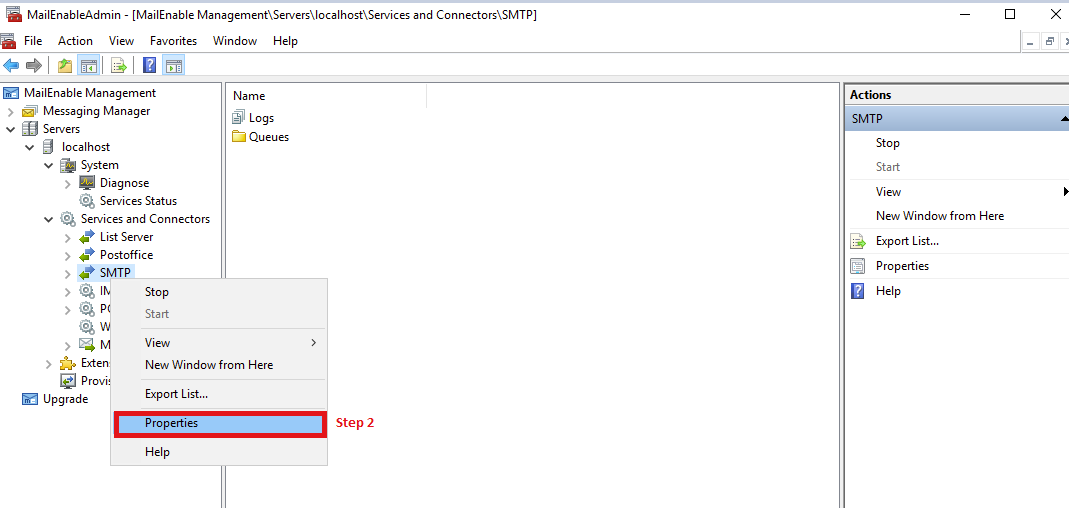
Step 2: Expand servers -> localhost ->services & connector ->SMTP

Step 3 : Right click “SMTP” -> Properties
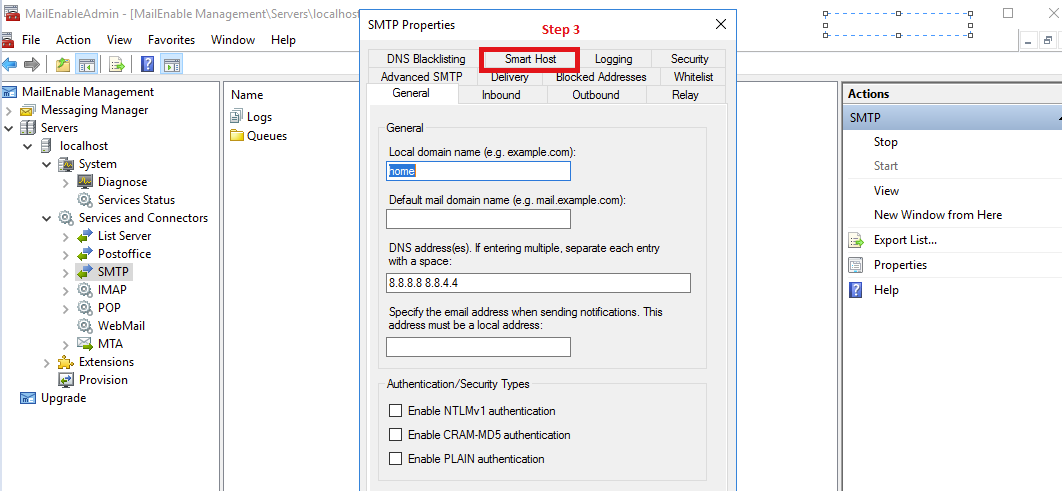
Step 4 : A new dialog box appears as seen in the screenshot below. Then Click “Smart Host”
Step 5 : On the next dialog box, check mark“Smart Host enabled “ tab as seen on the screenshot below

i) On the IP/Domain field enter relay.mailbaby.net and on Port field enter 25
ii) Check mark “The remote server requires authentication”
iii) On the Account name and password field, Please enter your mail baby login details. The username starts with ‘mb’ followed by a number. You can find your username and password inside my.interserver.net.
Note : On the screenshot above we have used a test account name “mb12345” as an example.
Step 5: Click the Advanced SMTP Tab
i) Add required headers for authenticated senders if needed and save
ii) By enabling this option, MailEnable will add the required lines (if they don’t exist) to all users who are authenticated to relay through MailEnable. Mailbaby uses these headers to isolate user reputation. Users may experience the flag With out this header users may see the rule “Please Set Up Xauth Header And Check Spf 2 Valid Spf Will Auto Clear” and domains will have slower automatic verification.
iii) Further reading see http://www.mailenable.com/documentation/standard_guide.html


